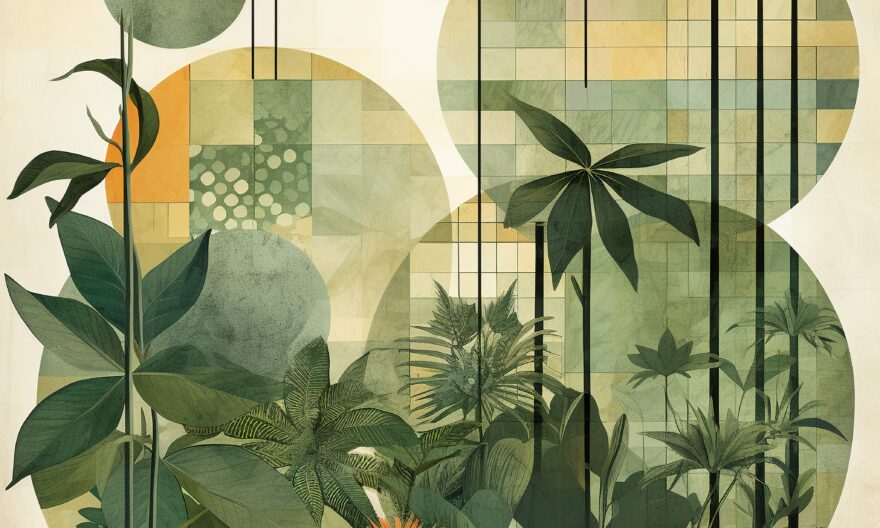
Mural wallpapers add life, colour, and personality to a room. If you are living in Singapore and have chosen to install mural wallpaper in your home or office, then you have just made an excellent choice. Though it might sound daunting, installing mural wallpaper in Singapore is easier than you think with the right steps. This blog will walk you through it professionally and in the easiest way. Do these simple steps, and there you will have a beautiful, attractive wall in no time!
Step 1: Take Precise Measurements of Your Wall
First and foremost, start by measuring the wall on which you want to install this mural wallpaper. By ensuring that you know the exact measurement, you can then decide the right size for your mural. Begin by taking the height and width from the floor to the ceiling, as well as corner to corner.
- Take accurate measurements using a measuring tape for precision. Record the measurements for later use.
- Add approximately 1-2 inches, give or take a few inches extra, for allowance for any mistake in measurement.
The right measurement will ensure a perfect mural wallpaper fit with absolutely no gap between the seams and no overlap. A perfect fit means avoiding additional costs when purchasing materials.
Step 2: Choosing the Right Mural Wallpaper
Once you have measured your wall, it is now time to choose the perfect mural wallpaper. In Singapore, mural wallpapers abound in various designs that represent different tastes and styles. Find one that best describes the environment of the room, whether it would be a warm living room or a vibrant office.
- Look for local shops and e-commerce websites for Wall Murals in Singapore
- Choose a style that will complement the furniture and colour of your room.
- Choose quality mural wallpaper to ensure long-lasting results.
Remember the theme of your room and choose mural wallpaper accordingly. Mural wallpaper is used to enhance the view, not clash with it.
Step 3: Prepare the Wall
It is important that, before the installation of mural wallpaper is done, the wall should be prepared. This stage is very crucial in ensuring that the wallpaper will stick properly and look smooth without bumps and air bubbles. Cleaning and smoothing the wall will make it easier to install.
- Dust and dirt are removed by wiping the wall with a damp cloth.
- Holes or cracks should be filled with putty and sanded smooth.
- Let the wall dry out before attaching the wallpaper.
In return, taking your time to prepare the wall will ensure a professional finish once the mural wallpaper is up.
Step 4: Cut the Wallpaper to Size
After preparing the wall, the subsequent action will be to cut the mural wallpaper according to the wall dimensions. This might be quite tricky; however, with careful measurements, this is pretty simple.
- Unroll the mural wallpaper and place it on a flat surface.
- Using your earlier measurements of the wall, measure on it where to cut.
- Make clean cuts using either sharp scissors or a utility knife.
Each piece needs to match the measurements of your wall, so double-check that. It will make things way easier down the road.
Step 5: Applying Glue onto the Wall
Once your mural wallpaper is ready to go, you are going to want to put some adhesive on the wall. This is a very critical step to take in order for the wallpaper not to fall off. There are several different types of wallpaper adhesives, so make sure you choose the right kind for mural wallpaper.
- Read the directions on the adhesive packaging.
- Apply a thin layer of adhesive using a brush or roller.
- Work in sections, applying adhesive to small areas at a time.
This is a spot where patience is needed and must not be hurried because uneven smearing of adhesive may result in uneven lumps and air pockets on the mural wallpaper.
Step 6: Start from the Top
Application of mural wallpaper in SIngapore can be done from the top working your way down; this method gives better control over the handling of the paper and keeping it straight.
- Line up the top edge of the wallpaper with the top of the wall.
- Gradually smooth the wallpaper onto the wall as one works down.
- Make use of the wallpaper smoother to remove any air bubbles.
Starting from the top allows gravity to help you down the line and makes it easier to avoid wrinkles and misalignment of the paper.
Step 7: Match the Seams
If your mural wallpaper is in more than one panel, matching seams are necessary where panels meet. The proper alignment is highly crucial to ensure that the design flows across the wall.
- Line up the edges of each panel carefully.
- Press seams together without gaps.
- Trim excess paper at the edges.
Perfectly matching seams will make your mural wallpaper seem seamless, like a professional job wherein the design flows well.
Step 8: Smoothen Bubbles and Wrinkles
No matter how well you install, you may still encounter a few bubbles or wrinkles. The trick is to get them as soon as possible before the adhesive starts to dry.
- Press any air bubbles, which may appear with the help of a wallpaper smoother.
- Smooth the air bubble from the centre to the sides.
- If need be, prick the stubborn bubble lightly with a pin.
Immediate attention to the bubbles and wrinkles will give a perfect finish to make the mural wallpaper look stunning.
Step 9: Smoothen the Edges
Once you get the mural wallpaper up, you’ll probably have to trim the edges, so they fit onto the wall. This will ensure that the wallpaper doesn’t look untidy or unprofessional.
- Smooth excess wallpaper around the edges with a utility knife.
- Be very careful around corners and outlets, making slow, careful trims.
- Check for uneven spots, making trims where necessary.
Smoothening the edges is all it takes to give your mural wallpaper a finishing touch.
Step 10: Allow the Wallpaper to Dry
After all that hard work, it is time to let the mural wallpaper dry out completely. Allowing the drying will permit the adhesive to set and the wallpaper to be in place for years to come.
- Keep the room well-ventilated to help speed up the drying of the wallpaper.
- Avoid touching the wallpaper as it dries.
- Let the adhesive dry completely, and that takes at least 24 hours.
After the drying of wallpaper, the work you do will give a whole new look to your room.
Conclusion
Putting up mural wallpaper in Singapore can be one of the most rewarding and enjoyable do-it-yourself jobs to undertake. By following these 10 easy steps, you can achieve professional results with minimum hassle. Each step, whether it’s measuring the wall or letting the wallpaper dry, plays a crucial role in getting a perfect finish. Therefore, take your time with quality materials, and carefully follow the process to ensure the best results.


